...
- You must sign up for EC2 and Beanstalk specifically. This isn't isn’t a standard part of signing up for an Amazon Web Services (AWS) account. Logging into the AWS console and selecting the EC2 tab and Beanstalk tab will provide links to the sign-up pages.
- You must provide a payment method the first time you sign up for a service.
- You must provide a phone number, receive a phone call, and enter the PIN provided in the console into the phone to finalize the subscription to your first service.
- There may be a short delay between finalizing your subscription and it being ready for use. Amazon sends an email when the account is available.
...
- Install the AWS EC2 Eclipse plug-in: http://aws.amazon.com/eclipse/#4
- If you have not already, register your AWS account for AWS Elastic Beanstalk (see http://aws.amazon.com/elasticbeanstalk/#pricing for how using beanstalk will affect your costs)
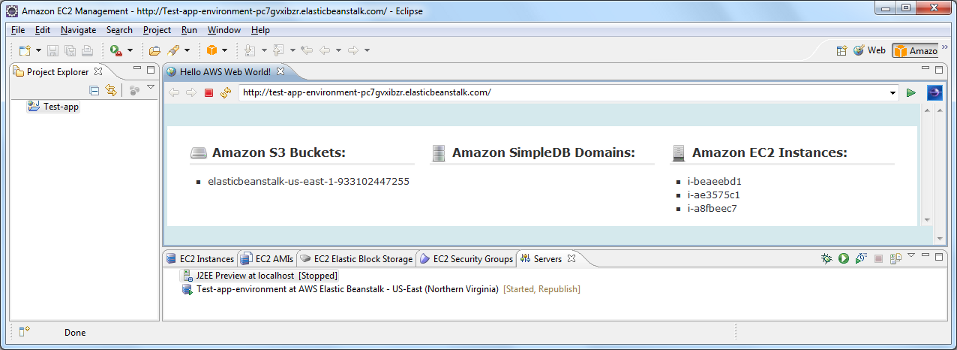
- Define a new AWS Elastic Beanstalk web application (see the "Hello World" “Hello World” section in http://blog.teamextension.com/getting-started-with-aws-elastic-beanstalk-179)
...
- In the EC2 tab in the AMI console, click the Instances link in the menu on the left.
- Right-click the Ubuntu AMI and choose Connect from the pop-up menu.
- Follow the instructions that appear for making an SSH connection to the server. Note: If you are using PuTTY to connect, see http://clouddb.info/2009/05/17/a-quick-overview-of-putty-and-ssh-for-aws-newbies for instructions on generating a PPK file from the PEM file you downloaded earlier.
- Once you have established an SSH connection, use the username "bitnami" “bitnami” to log in.
Step 4: Customizing your instance:
- Immediately remove the entry for "manager" “manager” in the tomcat-users.xml file and replace it with your own credentials:
No Format sudo vi /opt/bitnami/apache-tomcat/conf/tomcat-users.xml
- You can connect to the Tomcat server on your instance using the AMI's AMI’s public DNS (ec2-#########-###-compute-1.amazonaws.com). You can use this interface to load WAR files for deployment, or you can use other SSH tools to upload the necessary files directly.
- Create the database in your MySQL server for your application:
No Format sudo /opt/bitnami/mysql/bin/mysql -u root mysql> SET PASSWORD FOR 'root'@'localhost' = PASSWORD('yourpassword'); mysql> CREATE DATABASE yourdatabase; mysql> CREATE USER 'username'@'localhost' IDENTIFIED BY 'yourpassword'; mysql> GRANT ALL ON yourdatabase.* TO 'username'@'localhost';
Note: Avoid using "bitnami" “bitnami” for database names and users. Customize the above settings to match your application's application’s needs. At the least, update root's root’s password so that it is not left to the default specified by the Bitnami stack.
Step 5: Deploy an application to the server.
- Set your application's application’s database configuration to: username: "“username" ” / password: "“yourpassword" ” / URL "jdbc“jdbc:mysql://localhost:3306/yourdatabase"”
- Download SmartClient or Smart GWT---http://www.smartclient.com/product/download.jsp
- Extract the content of the download into your project. See http://www.smartclient.com/docs/8.0/docs/SmartClient_Quick_Start_Guide.pdf or http://www.smartclient.com/releases/SmartGWT_Quick_Start_Guide.pdf for more information on this process.
- Generate a WAR file of your application. Note that you can slim down your WAR file by removing the skins your application doesn't doesn’t use. (The 13 skins provided with the full version of SmartClient, combined, add up to over 56MB.)
- Point your web browser to the public DNS for your server (ec2_############-_compute-1.amazonaws.com).
- Click Access my Application and then Tomcat Manager.
- Log in with the credentials you created earlier and use the WAR file to deploy section to upload and deploy your application.If you'd prefer to use SFTP to upload your WAR, upload it to /opt/bitnami/apache-tomcat/webapps.
...