...
- Create or import a project.
- Select the project in the Project Explorer.
- Click Run > Run As > Run on Server.
- Select Basic > J2EE Preview.
- Click Finish.
...
- Install the AWS EC2 Eclipse plug-in: http://aws.amazon.com/eclipse/#4
- If you have not already, register your AWS account for AWS Elastic Beanstalk (see http://aws.amazon.com/elasticbeanstalk/#pricing for how using beanstalk will affect your costs)
- Define a new AWS Elastic Beanstalk web application (see the "Hello World" section in http://blog.teamextension.com/getting-started-with-aws-elastic-beanstalk-179)
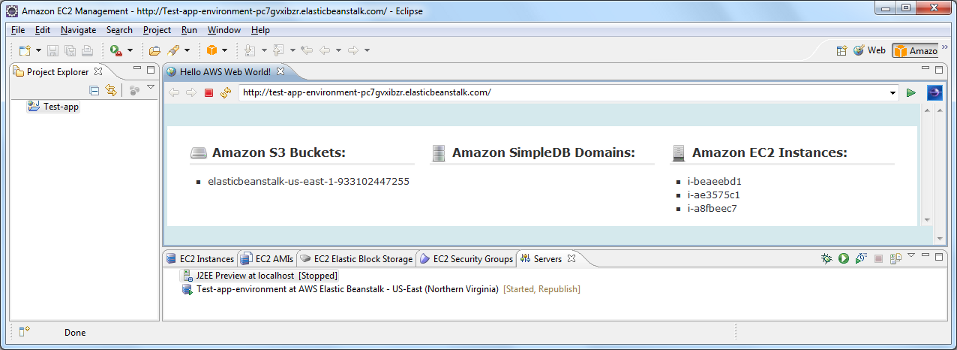
Note: Stopping an EC2 instance created by Elastic Beanstalk will cause a new EC2 instance to be started; you must stop the Beanstalk application from the Servers tab.
The EC2 environment has built-in monitoring capabilities that you can leverage to determine loads on your environment. These are helpful for capacity planning, so that you can expand and contract your resources to balance between cost and application responsiveness. 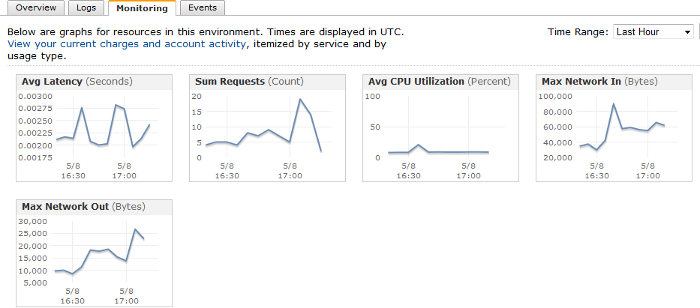
Setting up a custom Linux EC2 environment
...
Step 5: Deploy an application to the server:.
- Set your application's database configuration to: username: "username" / password: "yourpassword" / URL "jdbc:mysql://localhost:3306/yourdatabase"
- Download SmartClient or Smart GWT---http://www.smartclient.com/product/download.jsp
- Extract the content of the download into your project. See http://www.smartclient.com/docs/8.0/docs/SmartClient_Quick_Start_Guide.pdf or http://www.smartclient.com/releases/SmartGWT_Quick_Start_Guide.pdf for more information on this process.
- Generate a WAR file of your application. Note that you can slim down your WAR file by removing the skins your application doesn't use. (The 13 skins provided with the full version of SmartClient, combined, add up to over 56MB.)
- Point your web browser to the public DNS for your server (ec2_############-_compute-1.amazonaws.com).
- Click Access my Application and then Tomcat Manager.
- Log in with the credentials you created earlier and use the WAR file to deploy section to upload and deploy your application.If you'd prefer to use SFTP to upload your WAR, upload it to /opt/bitnami/apache-tomcat/webapps.
Note: Naming the WAR file that you upload to your instance ROOT.war (case-sensitive) will replace the default Bitnami application with your application at your instance's public DNS.