Real-time Messaging with JBoss AS
- Isomorphic Support
- Lee Russell (Unlicensed)
Similar to the showcase sample: http://www.smartclient.com/smartgwtee/showcase/#messaging_stock_quotes,
The Smart GWT Messaging Module can be integrated directly with JBoss AS JMS server. This sample was tested with version 6.1.0 and 7.0.1 of JBoss AS.
Version 6.1.0 comes with version 2.2.5 of HornetQ, and version 7.0.1 comes with version 2.2.7 of HornetQ. You can get JBoss AS from here.
To run the sample with JBoss 6.1.0,please perform the following steps:
1.- The first thing we have to do is set up a Topic Connection Factory and a Topic destination in JBoss, so, login into JBoss:
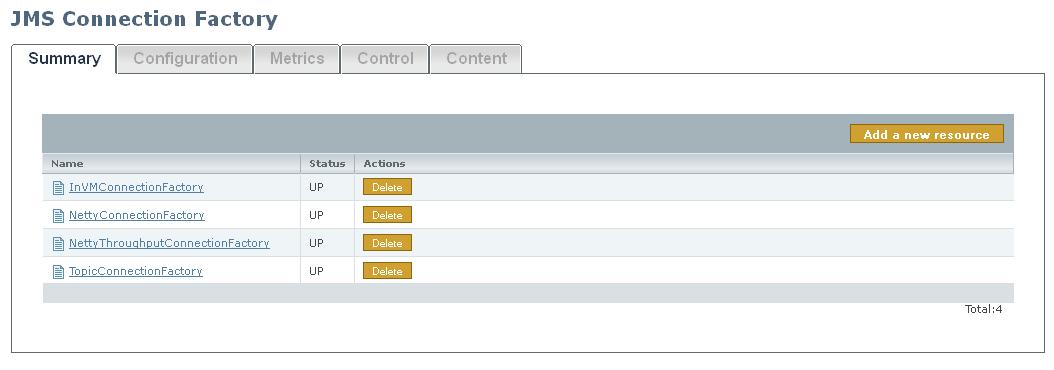
To create a Topic Connection Factory, go to JMS Manager -> JMS Connection Factory and click Add a new resource: (Picture 1).
- Select “default(JMS Connection Factory)” and click Continue.
- In “Connection Factory Name” and “JNDI Bindings”, you have to register TopicConnectionFactory. (Picture 2)
- In “the type of factory”, select “JMS Topic Connection”.
- Retain the default values in all other fields.
Picture 1.- Create a new Topic Connection Factory.
Picture 2.-Detail of the new Topic Connection Factory. 
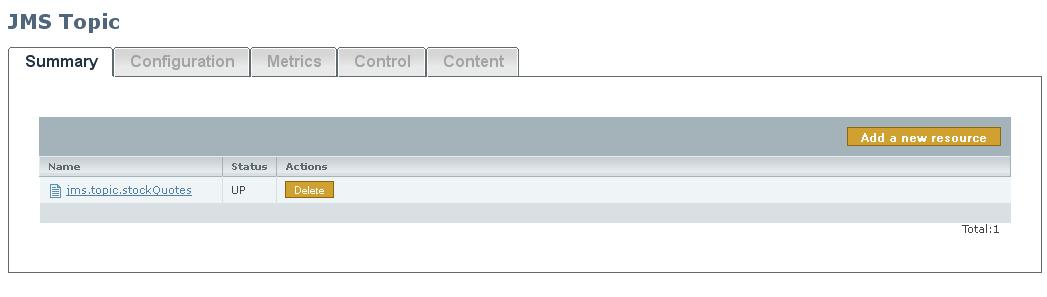
To create a new Topic, select JMS Manager -> JMS Topic, and click Add a new resource. (Picture 3):
- Select “default(JMS Topic)” and click Continue.
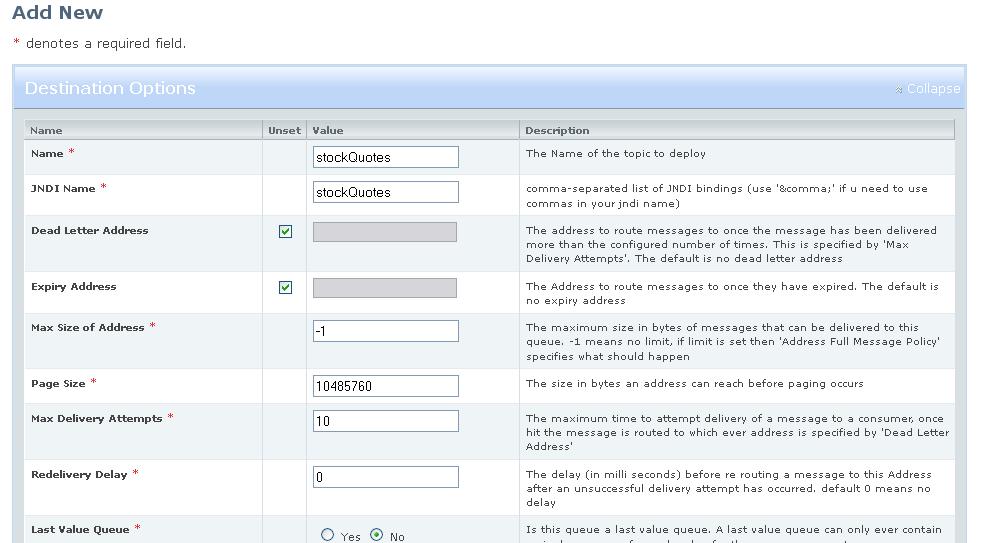
- Care should be taken when entering the Name and JNDI Name. In this case, both names are the same: "stockQuotes". (Picture 4).
Picture 3.- Create a new Topic.
Picture 4.-Details of the new Topic.
2.- If you can’t create the new Topic, you can also do it manually. To do that, go to <JBOSS_HOME>/server/default/deploy/hornetq, select the hornetq-jms.xml file and open it.
At the end of the file, enter the following:
<topic name="stockQuotes">
      <entry name="stockQuotes"/>
</topic>
Finally save and close the file and restart the server.
3.- Deploy the sample in the server. You can get the source code of the sample here. If you can’t deploy the sample because a timeout exception was thrown, simply put the .war file into <JBOSS_HOME>/server/default/deploy/ and restart the server.
To run this sample with JBoss AS 7.0.1:
1.- By default, the installation of JBoss AS 7.0.1, doesn’t have the Messaging subsystem enabled. For that reason you can run the server with the standalone-preview.xml configuration file from a command line or enable the subsystem in the standalone.xml configuration file:
<JBOSS_HOME>/bin/standalone.bat --server-config=standalone-preview.xml

or

<JBOSS_HOME>/bin/standalone.sh --server-config=standalone-preview.xml
You can find the configuration files in: <JBOSS_HOME>/standalone/configuration
2.- Create the new Topic Connection Factory manually in the standalone.xml configuration file located in <JBOSS_HOME>/standalone/configuration/.
Add the following lines into the configuration file.
<connection-factory name="TopicConnectionFactory">
                    <connectors>
                        <connector-ref connector-name="in-vm"/>
                    </connectors>
                    <entries>
                        <entry name="java:/TopicConnectionFactory"/>
                    </entries>
</connection-factory>
Then restart the server.
You can find more information about this here:
3.- Create the new Topic(stockQuotes). You can do this from the JBoss web console.
4.- Comment out the following lines in server.properties and StockQuotesServlet.java of the sample:
jndi.messaging.java.naming.factory.initial: org.jboss.naming.NamingContextFactory
jndi.messaging.java.naming.factory.url.pkgs = org.jboss.naming:org.jnp.interfaces
Note: With this change, the sample works in JBoss AS 6.1.0 as well.
5.- Add the rt.jar library to the lib folder of the sample, in this case we have used jdk 1.6.0_02 .
Note: This file must not be in the .war file to deploy into JBoss 6.1.0 due a conflict of libraries.